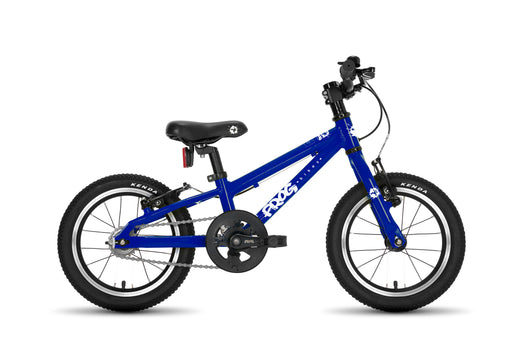
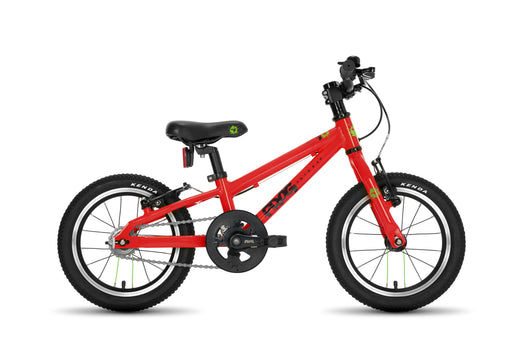
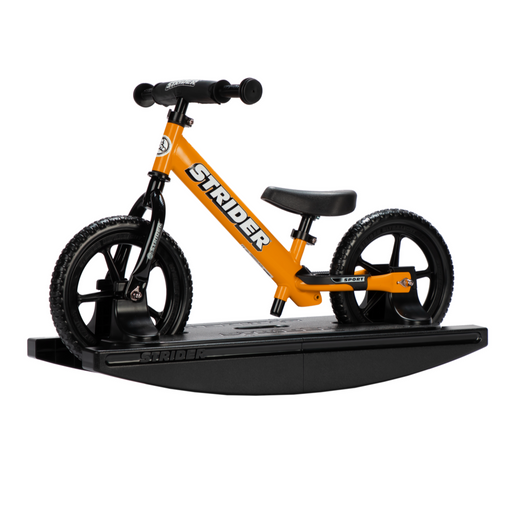
Woom 1 Assembly Guide

Tools Needed
- 4 mm Allen wrench (included)
Step 1: Unbox Your Woom 1
- Carefully remove all parts from the box.
- Ensure you have the following components:
- Frame with rear wheel attached
- Handlebar
- Front wheel
- Saddle with seat post
- Pedals
- Allen wrench
Step 2: Attach the Handlebars
-
Position the Handlebars:
- Place the handlebars into the stem.
- Ensure the handlebars are centered and properly aligned.
-
Secure the Handlebars:
- Use the 4 mm Allen wrench to tighten the stem bolts.
- Check the alignment again and adjust if necessary.
Step 3: Install the Front Wheel
-
Position the Front Wheel:
- Place the front wheel into the front fork.
- Ensure the wheel is centered in the fork.
-
Secure the Front Wheel:
- Tighten the axle nuts using the provided wrench.
- Spin the wheel to ensure it is properly aligned and spins freely.
Step 4: Attach the Saddle
-
Insert the Seat Post:
- Insert the seat post into the frame.
- Adjust the seat height to your child's preference.
-
Secure the Seat Post:
- Tighten the seat clamp using the 4 mm Allen wrench.
- Ensure the saddle is level and properly aligned.
Step 5: Adjust the Brakes
-
Check Brake Lever:
- Ensure the brake lever is within easy reach for your child.
- Adjust the lever position if necessary.
-
Test the Brakes:
- Squeeze the brake lever to ensure the brake pads contact the wheel properly.
- Make adjustments to the brake cable tension if needed.
Final Checks
- Ensure all bolts are securely tightened.
- Check the alignment of the handlebars, wheels, and saddle.
- Test ride the bike to ensure everything is working correctly.
